
The Send email plug-in allows you to deliver emails simply and effectively to all needed email addresses or groups, as all people also do from their inboxes.
Thus, to improve your Workload Automation environment, download the Send email plug-in available on Automation Hub.
Thus, to improve your Workload Automation environment, download the Send email plug-in available on Automation Hub.
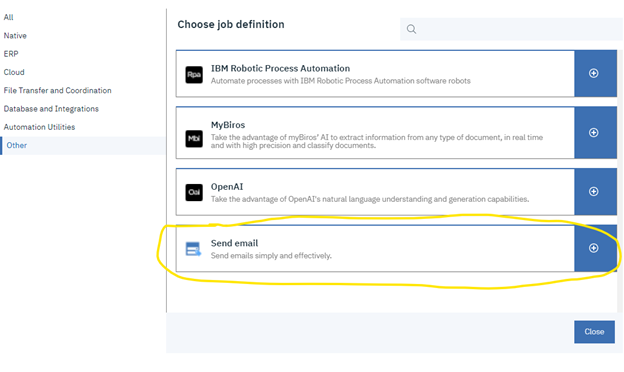
After downloading it, log in to the Dynamic Workload Console and go to Workload Designer. Create a new job and select “Send email” in the Other section.
Connection
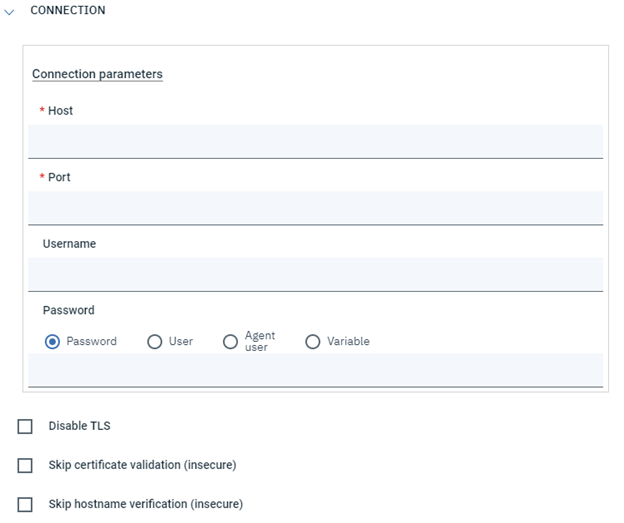
In the Connection tab you must enter all required connection information:
There are also two non-required fields:
This field is linked to the below Password field so that, if necessary, you can create a User object inside your environment, choosing as password the Password associated to the email address of the sender, and then you can insert the name of the just created User in the Username field, and finally choose the User option for the Password field.
In the Connection tab you must enter all required connection information:
- Host: the host that will be used for sending the email.
- Port: the port associated to the host
There are also two non-required fields:
- Username: if the authentication is required for the sender, then the username associated to its email address should be provided.
This field is linked to the below Password field so that, if necessary, you can create a User object inside your environment, choosing as password the Password associated to the email address of the sender, and then you can insert the name of the just created User in the Username field, and finally choose the User option for the Password field.
- Password: if the authentication is required for the sender, then a password must be specified together with the username.
- Disable TLS: if checked, then the email communication will not be encrypted. Be aware that doing this is insecure.
- Skip certificate validation: if checked, then the certificate validation will be skipped. Be aware that doing this is insecure.
- Skip hostname verification: if checked, then the hostname verification will be skipped. Be aware that doing this is insecure.
Action
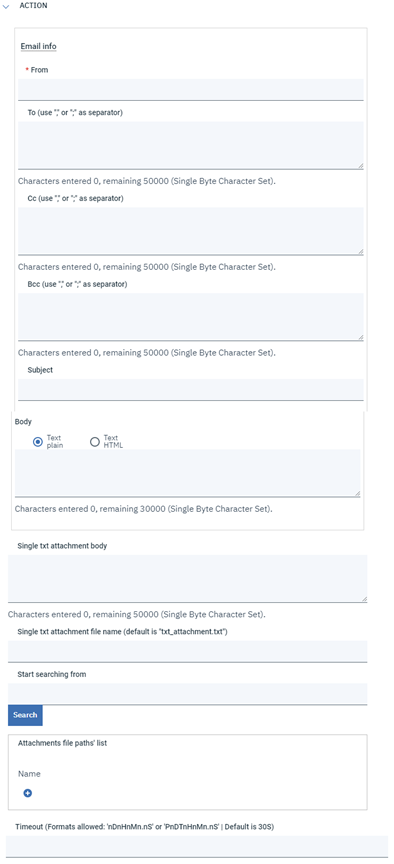
In the Action tab you must enter all information required to submit the job. Only the From field is required because it will contain the email address of the sender.
Then we have some non-mandatory fields:
Note: for all three fields above, it is possible to provide more than one recipient, by using “,” or “;” as separator. You can’t use both separators together.
In the Action tab you must enter all information required to submit the job. Only the From field is required because it will contain the email address of the sender.
Then we have some non-mandatory fields:
- To: in this checkbox you can specify the main recipients’ email addresses.
- Cc: in this checkbox you can specify recipients’ email addresses that will be put in carbon copy (Cc).
- Bcc: in this checkbox you can specify recipients’ email addresses that will be put in blind carbon copy (Bcc).
Note: for all three fields above, it is possible to provide more than one recipient, by using “,” or “;” as separator. You can’t use both separators together.
- Subject: the email’s subject
- Body: the email’s body. It can be sent either in text/plain format or text/HTML format.
- Single txt attachment body: here you can insert the content of a txt file that will be attached to the email. The default name for the file is “txt_attachment.txt”, and it can be specified in the Single txt attachment file name field.
- Single txt attachment file name: here you can specify the name for the txt attachment whose content is specified in the Single txt attachment body field. If not specified, the default name for the file is “txt_attachment.txt”.
- Start searching from: here you can specify the path from where start searching for files that you want to attach to the email by using the Search button. A list of files will be prompted to you, if any available, and you can choose one or more. Once you confirm your choice, all file paths will be placed, one per each line, under the Attachment file paths’ list section.
- Attachments file paths’ list: here you can enter one or multiple file paths for files that will be attached to the email. You can also find them with the help of the Start searching from field and of the Search button.
- Timeout: here you can specify the amount of time after which the job should end in ABEND status in case the email has not yet been delivered. If not specified, by default a timeout of 30 seconds will be set. If the email is delivered within the specific timeout, then the job will end in SUCCESSFUL status. Several formats are available, they are listed in the field's label.
Submitting your job
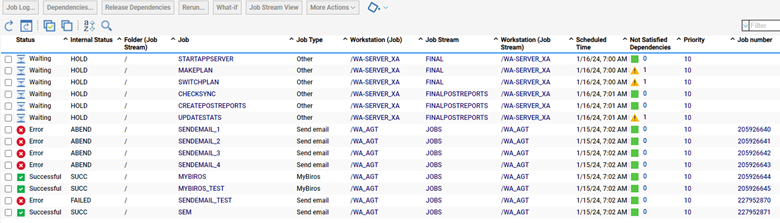
You can submit the job according to the current plan. After selecting the Submit icon, click Ok. You can move to the Monitoring and Reporting tab to check what’s happening when a confirmation message appears.
You can submit the job according to the current plan. After selecting the Submit icon, click Ok. You can move to the Monitoring and Reporting tab to check what’s happening when a confirmation message appears.

Monitor Job
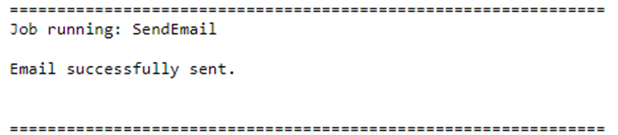
Job Log
Output Properties

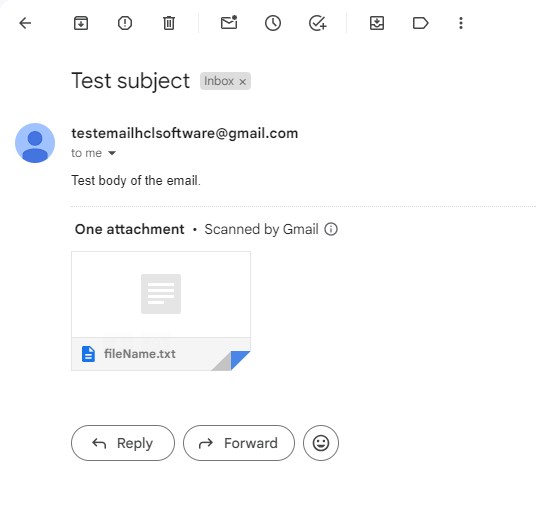
Received Emails
| Authors | |
 | Ivan Giacomoni – Software Engineer (Backend Developer) at HCL Software Works as a Backend Developer in Workload Automation. Acquired skills on Java, Microservices, Docker. Hobbies side, he is very passionate about football and tennis. |
 | Ernesto Carrabba, Product Manager, HCL Clara, HCL HERO and HCL Workload Automation Ernesto Carrabba is the Product Manager for HCL Clara, HCL HERO and HCL Workload Automation. Ernesto is a very dynamic product manager with experience in building and launching IoT products, combined with a master's degree in mechanical engineering and study researches on Augmented and Virtual Reality. |